

Repairing a Swollen Wooden Bathroom Door
Home Repairs, Maintenance and Renovation – Wooden Door
Have you ever thought about repairing a wooden door that has been badly affected by moisture? I did, and I believe the repair was successful.
The bottom part of the door was in very poor condition. The most severely swollen section was approximately 1 cm high, making it impossible to apply glue directly without first restoring the shape of the wood.
Step 1 – Cleaning the Surface
The first step was to remove the old varnish and clean the affected wooden surface.
I used medium-fine sandpaper, approximately grit 180, and carefully cleaned every square centimetre of the damaged area.
The purpose of this step was to remove the old finish and expose the wooden surface before attempting to restore the deformed fibers.
Step 2 – Restoring the Swollen Wood
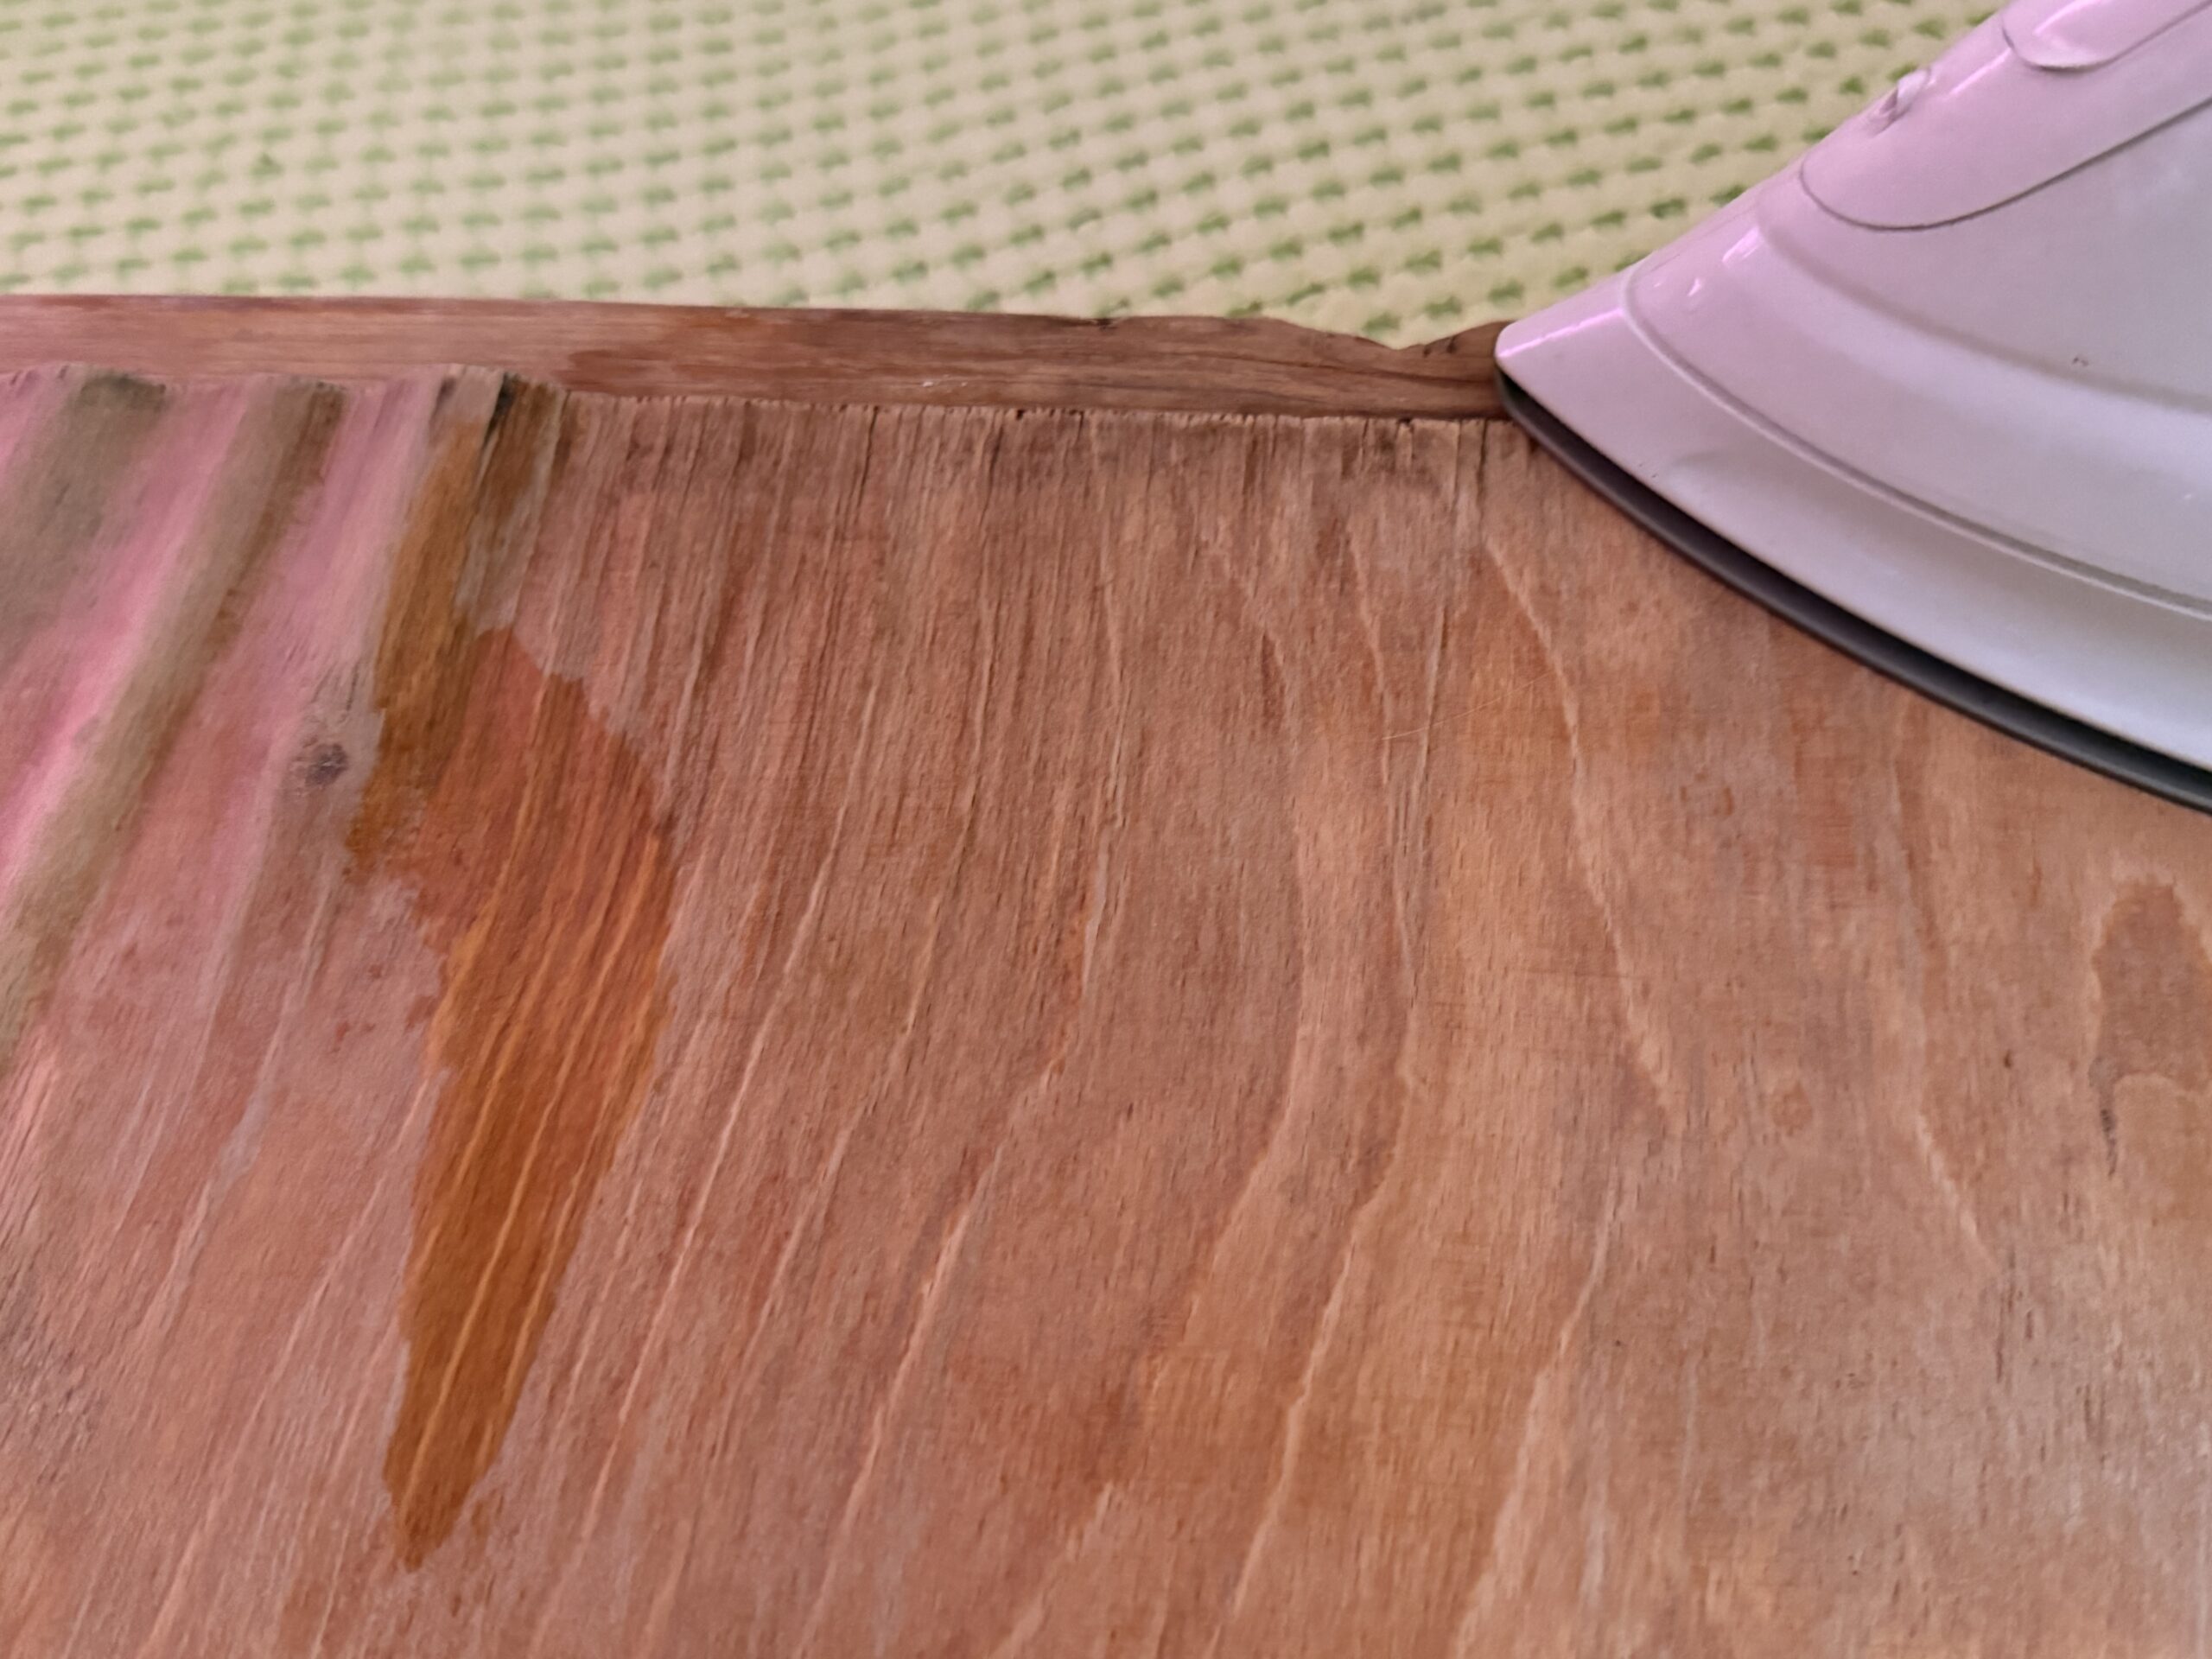
For the next step, I used a preheated Philips Azur XL steam iron, set to the maximum temperature.
The procedure was relatively simple.
First, I sprayed a small amount of clean water onto the deformed wooden area using a spray bottle. The integrated water sprayer of the iron can also be used.
Immediately afterwards, I applied the hot surface of the iron to the swollen wooden fibers.
I kept the iron in place for several seconds, up to approximately 30 seconds depending on the condition of the wood, allowing the water to evaporate.
I repeated this procedure over all of the affected areas.
The important point is to allow the wood to dry completely before moving to the next stage.
Step 3 – Applying the Glue
Once the wooden material was completely dry, I applied wood glue between the separated wooden layers.
Because the gap was very narrow, I used a syringe with a suitable thick needle to inject the glue into the damaged area.
For this repair, I used C200/C300 wood glue.
The glue needs to reach as far as possible between the separated layers of wood.
Step 4 – Pressing the Door
The final step was to press the repaired area back into its original position.
To achieve an even and smooth surface, I used suitable non-stick boards. Wooden boards covered with non-stick film can also be used.
I placed the boards over the repaired area and applied pressure with several wood clamps.
I positioned the clamps approximately every 10–20 cm, depending on the shape and condition of the door.
The pressure should be distributed evenly across the repaired area.
After the glue had completely cured, the clamps and pressing boards could be removed.
Result
The repair restored the deformed bottom section of the door and gave it a much smoother and more usable shape.
I have included several photographs showing the different stages of the repair, from the original damaged condition through the repair process to the final result.
This was a relatively simple repair, but it required patience and careful preparation of the damaged wood before applying the glue.
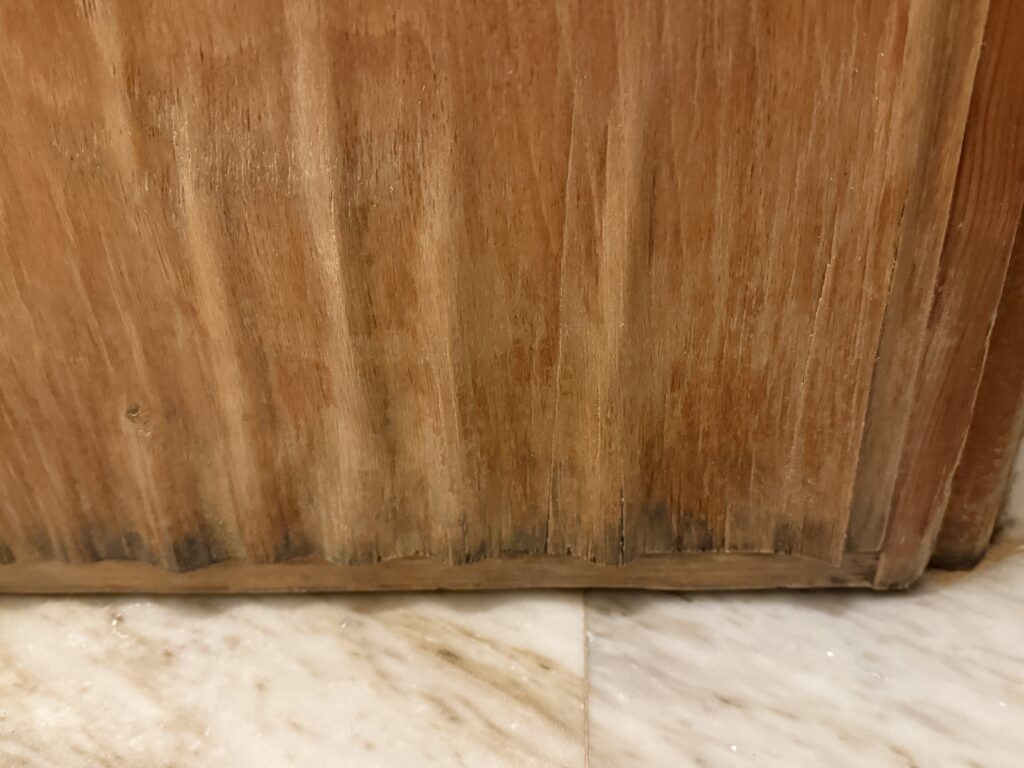
Pic.1a Damaged Wooden Door
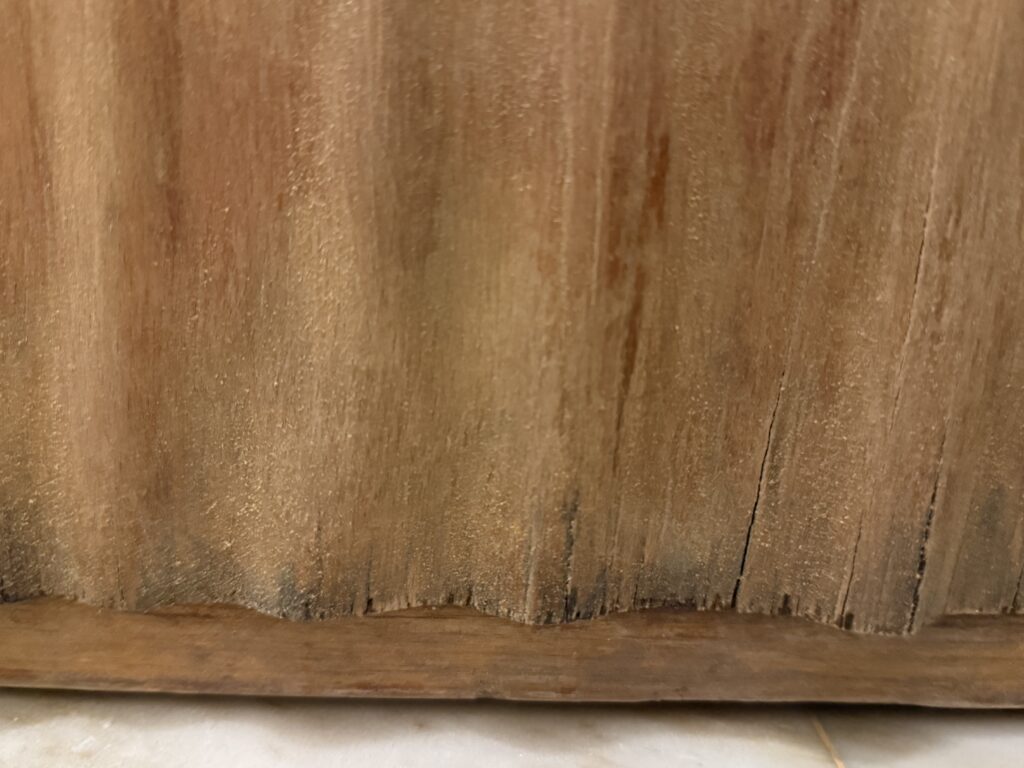
Pic.1b Damaged Wooden Door
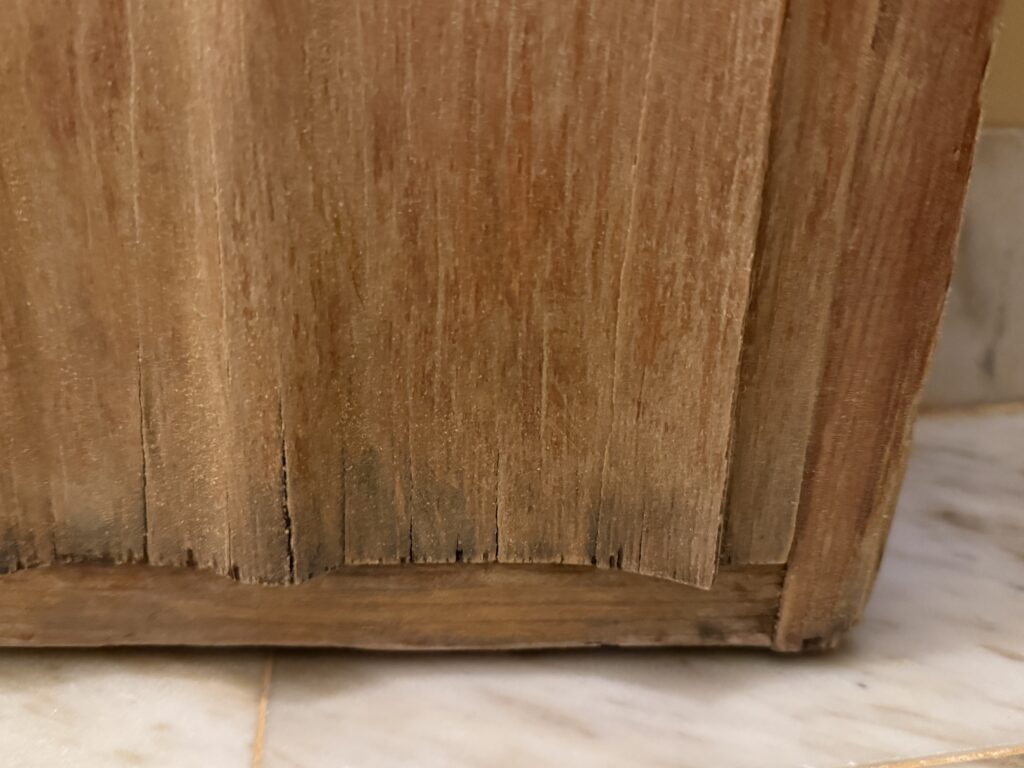
Pic.1c Damaged Wooden Door
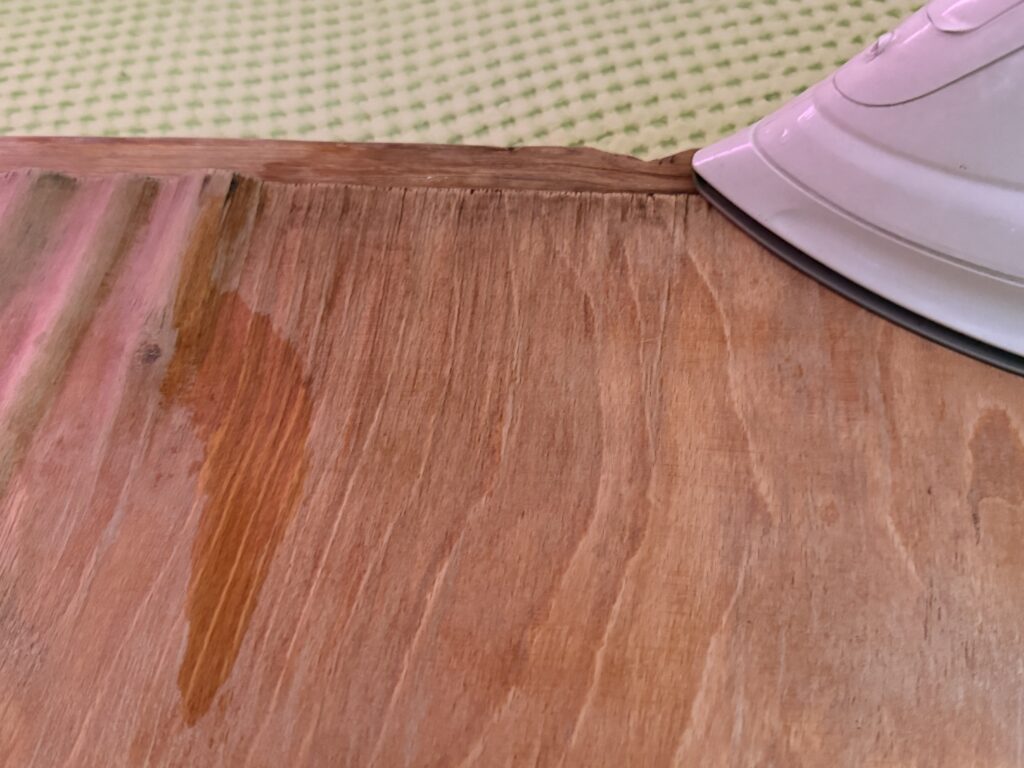
Pic. 2 First Steps of Restoration
As seen, the situation doesn’t look good. On the contrary, it doesn’t even seem possible to fix it.
But , a few hours later ….
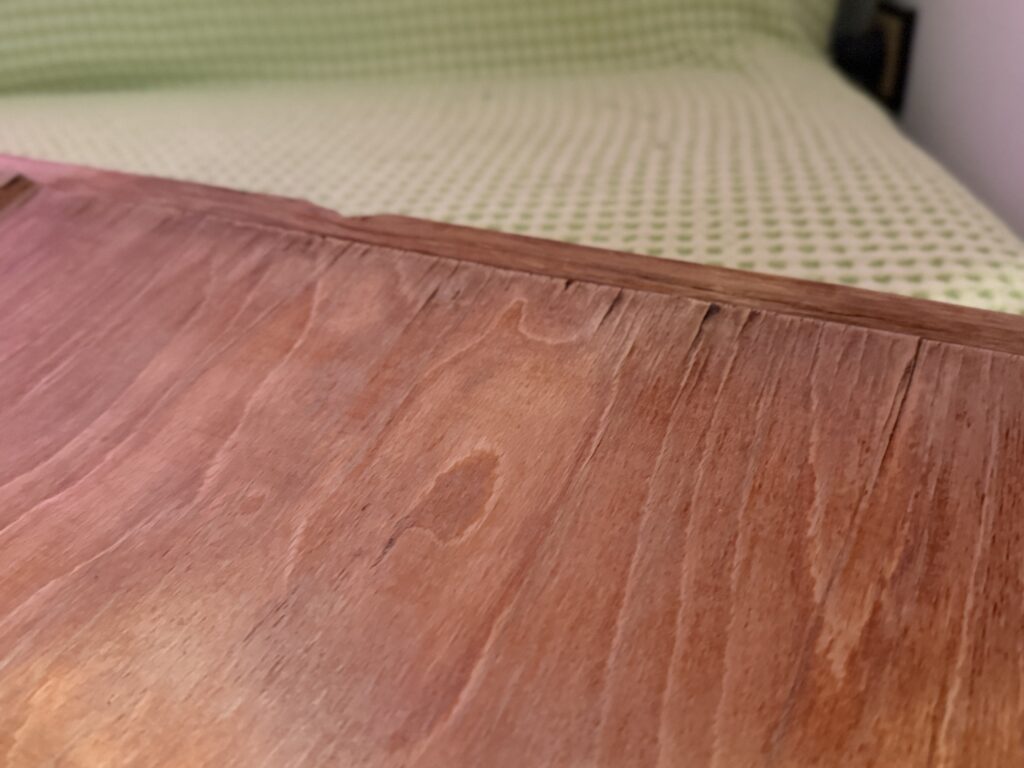
Pic. 3 The Result of the smoothing process…
The next step is applying the C200 glue and complete evaporation.
Finally, apply two layers of wood varnish…
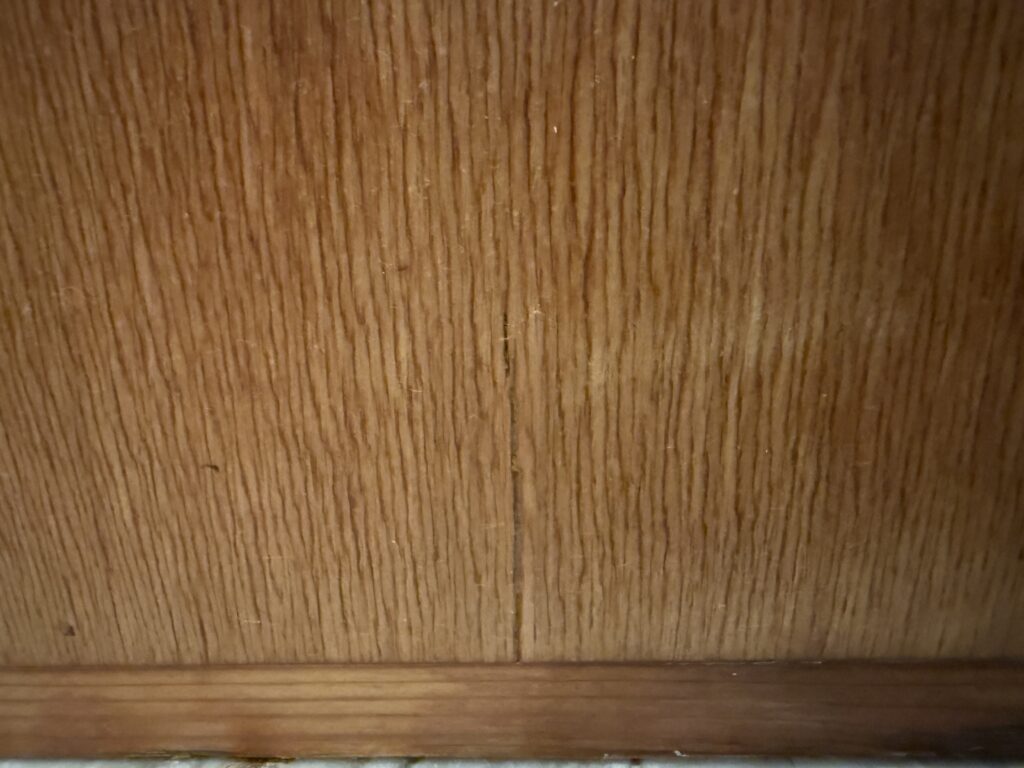
Pic. 4 The Final Result …
To be Continued …